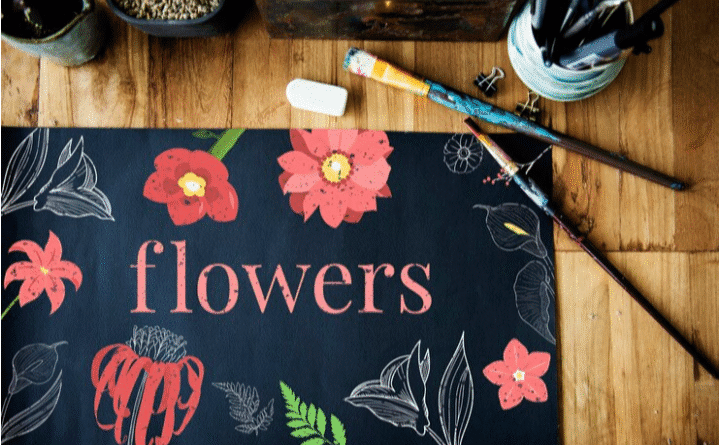
Flower Drawing: Easy Guide to Create Beautiful Flowers Like a Pro
Introduction
Art is one of the best ways to express emotions, and flower drawing stands out as one of the most loved forms of artistic expression. Flowers represent beauty, freshness, and life — which is why artists and beginners both love to draw them. Whether you’re sketching roses, tulips, or daisies, learning flower drawing can help you improve your creative skills while bringing a touch of nature to your art.
Drawing flowers is also one of the easiest ways to start your artistic journey. You don’t need expensive tools or years of practice. With a few simple techniques and a little patience, anyone can learn flower drawing step by step. In this guide, we’ll explore how to draw flowers easily, what tools you need, and some expert tips to make your artwork stand out.
Why Learn Flower Drawing?
Learning flower drawing is not just about sketching—it’s about creativity and mindfulness. Flowers have natural symmetry and soft shapes that help artists practice balance, line control, and observation. It also improves concentration and relaxation, making it a perfect hobby for stress relief.
Moreover, floral sketches are popular for tattoos, greeting cards, wall art, and fashion designs. When you master flower drawing, you open doors to new opportunities in art and design.
Tools You Need for Flower Drawing
Before you start, make sure you have the right materials:
- Sketchbook or Drawing Paper – Choose smooth, high-quality paper.
- Pencils – Use HB for outlines and 2B–6B for shading.
- Eraser and Sharpener – For clean, precise corrections.
- Colored Pencils or Markers – To bring your flowers to life.
- Fineliner Pen – For defining lines and adding final touches.
These simple tools are all you need to begin your flower drawing journey.
How to Draw a Flower Step by Step
Step 1: Draw the Center
Start by drawing a small circle in the middle of your page. This is the core of the flower where petals will connect.
Step 2: Add Petal Guidelines
Draw light lines around the center circle to create a guide for your petals. Think of them as a clock shape—this helps maintain symmetry.
Step 3: Sketch the Petals
Begin adding petals around the center. Each petal can be oval or teardrop-shaped. Keep them light and even.
Step 4: Add Details
Once you’ve drawn all petals, add veins and natural curves to make them realistic. Slightly overlap some petals for a 3D effect.
Step 5: Draw the Stem and Leaves
Extend a line downward from the center to create the stem, and sketch leaves on both sides. Add veins for detail.
Step 6: Shade or Color
Finally, use pencils or colors to add shading and depth. Darken the center and softly blend the edges of petals for a realistic look.
With practice, your flower drawing will become more detailed and professional.
Different Styles of Flower Drawing
1. Realistic Flower Drawing
Focus on natural details, light, and shadow. Observe real flowers or photos to understand their textures.
2. Cartoon Flower Drawing
Simplify shapes and add bold outlines. Perfect for beginners or kids learning basic drawing.
3. Abstract Flower Drawing
Use imagination—blend colors and patterns freely to express creativity.
4. Minimalist Flower Sketch
Clean, single-line drawings that focus on form rather than detail. Popular for tattoos and digital art.
Exploring different styles of flower drawing helps you discover your personal artistic identity.
Pro Tips for Perfect Flower Drawing
- Observe real flowers – Study shapes and petal arrangements closely.
- Practice light strokes – Always begin with light lines for easier corrections.
- Play with shading – Add depth with gentle pencil pressure changes.
- Use references – Photos or live flowers guide your accuracy.
- Experiment with color blending – Layer different shades for realism.
Remember, flower drawing is about patience and observation—each petal tells a story.
Common Mistakes to Avoid
- Pressing too hard with a pencil – It’s hard to erase and ruins texture.
- Ignoring proportions – Uneven petals can make the flower look unnatural.
- Skipping shading – Without shading, flowers look flat.
- Over-detailing too early – Keep your first sketch simple; refine later.
Avoiding these mistakes ensures your flower drawing looks balanced and professional.
Conclusion
Flower drawing is a beautiful way to connect with nature and express creativity. Whether you’re drawing for fun, improving your skills, or starting a design career, floral sketches offer endless inspiration. Remember, practice is the key—every flower you draw will teach you something new about balance, proportion, and detail.
So grab your pencil and start today! The world of flower drawing is full of colors, creativity, and calmness. With time and practice, you’ll be amazed by how your sketches bloom into art.
Frequently Asked Questions (FAQs)
1. Is flower drawing good for beginners?
Yes! Flower drawing is one of the easiest subjects for beginners because of its simple shapes and symmetry.
2. What’s the best pencil for flower drawing?
Start with HB for outlines and softer pencils like 4B or 6B for shading and depth.
3. Can I use digital tools for flower drawing?
Absolutely! Apps like Procreate or Adobe Fresco are great for digital flower drawing.
4. How long does it take to get good at flower drawing?
With daily practice, most people see visible improvement within 2–4 weeks.
5. Can flower drawing help reduce stress?
Yes. Drawing flowers promotes relaxation, focus, and mindfulness—making it great for mental health.